
Plan a kitchen refresh without losing the plot
A useful kitchen project begins with layout, utilities, surfaces, and the right order of operations—not the paint color.
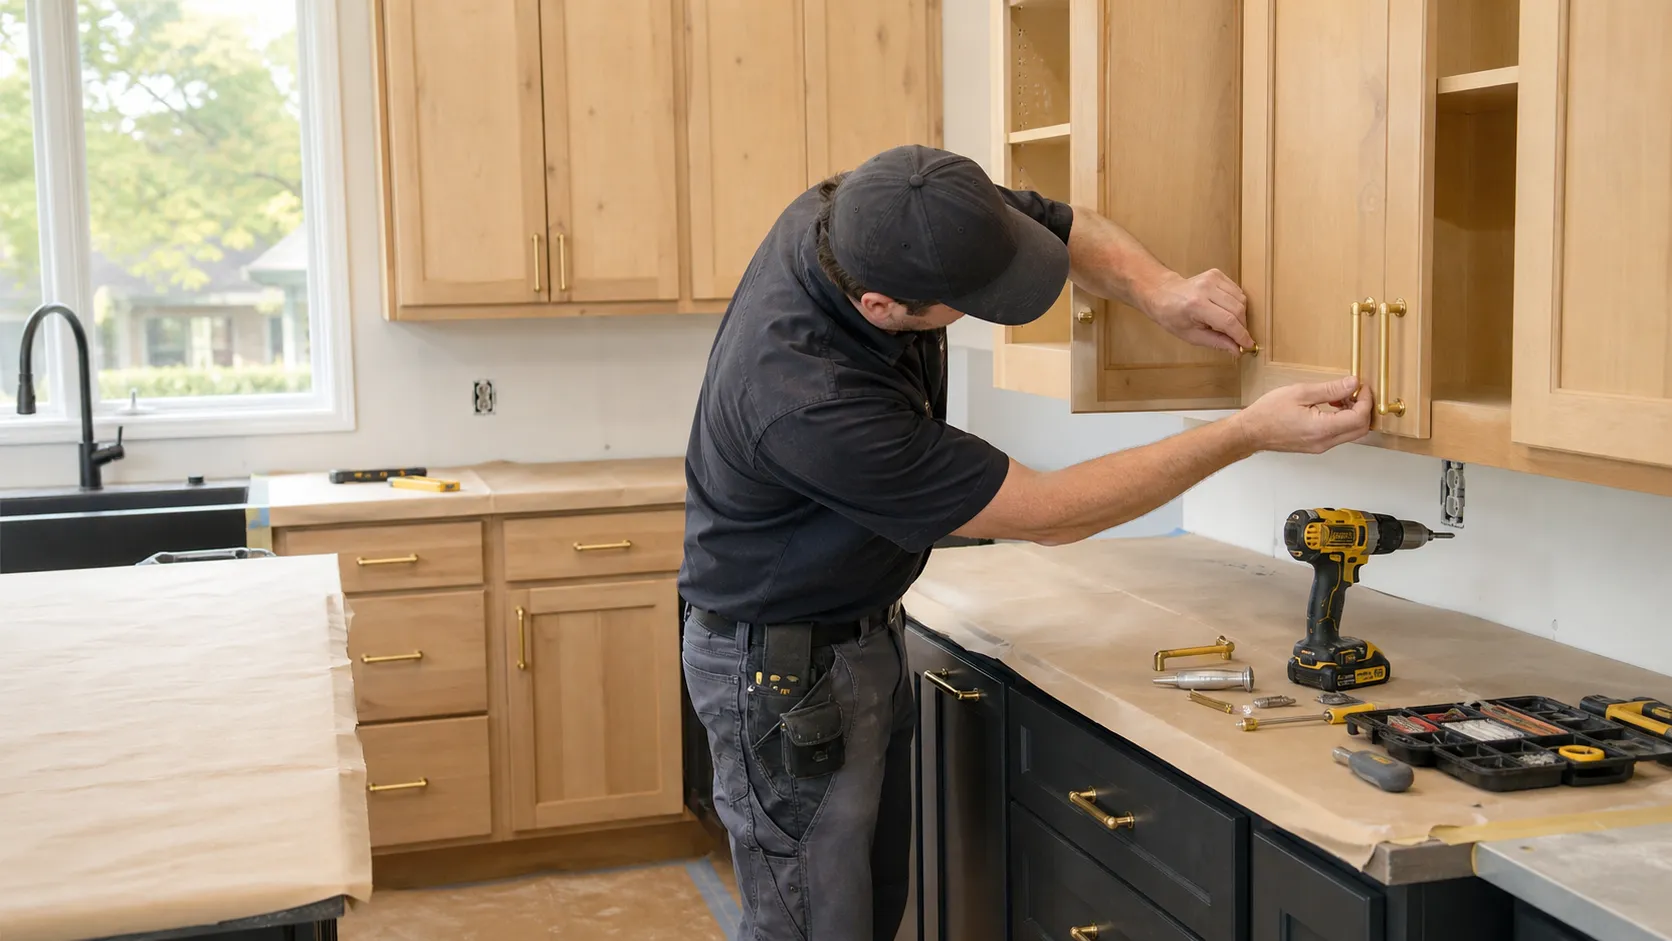
Most kitchen updates go better when they begin with everyday frustrations instead of a finish board. Before choosing a paint color or shopping for new pulls, spend a few days noticing how the room is used. Where do groceries land? Is there enough clear counter space to prepare a meal? Which cabinet is always hard to reach? Does the lighting make it difficult to see what you are doing?
Write those observations down. Storage, traffic flow, lighting, and work surfaces usually deliver more value than a trend-driven change. A good refresh does not need to turn into a full remodel; it needs to make the room more useful for the people who use it.
Decide what stays
Start by separating the room into three groups: elements that are working well, items that need repair, and features that truly need replacing. Sound cabinet boxes, a durable floor, or appliances that still suit your needs can often stay. Keeping those parts in place protects the budget and leaves room for the changes that make the biggest difference.
Cabinet doors that rub, drawers that sag, loose hardware, worn caulk, damaged trim, and dated light fixtures are often repairable. Those smaller jobs can dramatically improve how a kitchen feels without creating unnecessary demolition. If cabinets are structurally sound, new hardware, adjusted hinges, repaired drawers, and a fresh finish may be enough.
Moving plumbing, electrical service, gas lines, or walls should be a deliberate choice. Those changes can affect the project timeline and require the appropriate licensed trade or permit. Plan for them early rather than treating them as a late addition once surfaces have been selected.
Make a simple wish list
Rank your ideas before collecting quotes or buying materials. A short list helps keep decisions clear when there are many good-looking options.
- Must have: repairs, safety concerns, and changes that solve a daily problem.
- Would help: improvements such as extra shelving, better task lighting, or a new faucet.
- Nice to have: upgrades that are mostly aesthetic or can wait until a later phase.
This order is especially helpful in a smaller kitchen. A new under-cabinet light, a shelf where it is actually needed, or a properly adjusted pantry door can be more valuable than an expensive feature that does not improve the way the room works.
Measure before you choose
Take simple measurements of the room, including wall widths, ceiling height, doors, windows, appliance openings, and the depth of nearby walkways. Photograph the existing layout from several angles. These notes make it easier to compare products and explain the project to anyone helping with the work.
Be especially careful around appliances. Check manufacturer clearances and confirm that a replacement refrigerator, range, dishwasher, or microwave can get through the exterior door and into the kitchen. Measure cabinet openings before ordering a slide-in appliance, and account for handles, trim, and door swing—not just the width of the unit.
For a quick visual test, use painter’s tape to mark the footprint of a proposed island, rolling cart, or pantry cabinet on the floor. Walk through the room with a grocery bag or open the appliance doors. It is a low-cost way to discover a tight corner before anything is purchased.
Put the work in order
Even a modest refresh benefits from a clear sequence. The exact order changes with the job, but the goal stays the same: complete dusty, disruptive work first and protect new finishes until the end.
- Confirm the scope, measurements, materials, and any trade work.
- Remove only what needs to come out and protect floors, appliances, and nearby rooms.
- Complete any plumbing, electrical, or wall repairs that sit behind the finished surfaces.
- Repair drywall and prepare walls before installing finished cabinets, trim, or backsplashes.
- Install cabinets, counters, flooring, or backsplash in the sequence that suits the products being used.
- Finish with lighting, hardware, caulking, paint touch-ups, and final adjustments.
Planning the handoffs reduces delays and protects finished surfaces. For example, it is much easier to patch a wall before a backsplash or install a light fixture before delicate countertops are in the way.
Improve storage where it counts
Kitchen storage is not only about adding more cabinets. It is about making common items easy to reach. Start with the areas used most often: cooking tools near the range, everyday dishes close to the dishwasher, and food containers where they can be seen without digging through a deep cabinet.
Simple improvements can include adding shelves to a pantry, installing pull-out trays in an existing cabinet, replacing a broken lazy Susan, mounting a paper-towel holder, or creating a small landing area for mail and keys. If open shelving is part of the plan, use it selectively. It works best for items used regularly and is less practical for things that create visual clutter.
Do not overlook lighting and outlets
A kitchen can look finished but still feel inconvenient if the work areas are poorly lit. Think in layers: general ceiling lighting for the room, focused task lighting for counters and the sink, and accent lighting only where it adds value. Under-cabinet lighting is often one of the most noticeable upgrades because it brightens the actual work surface.
Outlets deserve the same attention. Consider where small appliances are normally used and where charging happens. Electrical modifications should be evaluated and completed by an appropriate licensed professional. Bringing those needs up at the planning stage is far easier than discovering them after a backsplash is installed.
Set a realistic material plan
Choose materials that match the amount of use the kitchen receives and the time you want to spend maintaining them. Bring home samples when possible. Look at them in morning light, evening light, and beside the cabinets and flooring that will remain.
When ordering, keep a small allowance for mistakes, cuts, or future repairs—especially for tile, flooring, and paint. Store the final paint names, finish details, receipts, and product information in one place. That record is useful when a touch-up or replacement is needed later.
Photograph the project with purpose
Project photos are valuable when they tell the story of the work. Take a clear “before” photo that shows the problem, a progress photo that captures the repair or installation, and a final image from the same angle. Include close-ups where a detail matters: a repaired cabinet corner, neatly installed hardware, or a clean caulk line around a sink.
That approach is more useful than a gallery with no explanation. It helps homeowners remember what was done and gives future customers a clearer idea of the type of work involved.
Know when to bring in help
A refresh can combine homeowner decisions, handyman repairs, and specialized trade work. Getting the plan organized early makes each part simpler. Bring in qualified professionals for work that requires licensing, permits, or specialized connections, and use a handyman for the repairs, installations, adjustments, punch-list items, and finishing details that bring the project together.
If you are planning a kitchen update in Great Bend or Central Kansas, start with a short list of what is not working and a few photos of the room. JACK the Handyman can help assess the practical repairs and installation work that will move the project forward.
Put the work in order
Demolition, rough-in work, wall repair, cabinets, counters, flooring, and finish work need a clear sequence. Planning the handoffs reduces delays and protects finished surfaces.
Use project photos throughout the article to show the problem, the repair in progress, and the finished result. That is more useful than a gallery with no explanation.